Quick Facts
- Category: Digital Marketing
- Published: 2026-05-17 00:22:54
- Quasar Linux RAT: A New Threat Targeting Developer Credentials in Software Supply Chain Attacks
- California's Social Media Ban Sparks Free Speech Concerns: EFF Warns of Dangerous Precedent
- 9 Steps to Launch Your Personalization Strategy: A Prepersonalization Workshop Guide
- Understanding the iCloud Lock-In Lawsuit: A Detailed Guide to the UK Tribunal's Decision and the 'Forgone Consumer Surplus' Theory
- The SECURE Data Act: A Critical Examination of Its Privacy Provisions
Introduction
Do you have a personal project, a portfolio, or documentation you want to share online without spending a dime on hosting? Thanks to modern tools, you can put a basic website live in minutes using free services like GitHub Pages or Netlify. In this guide, we’ll walk through the entire process—from creating your site files to deploying them to a public URL—so you can skip the paid hosting plans and keep your budget for what matters most. By the end, you’ll have a fully functional static website that anyone can access.
What You Need
- A code editor (e.g., Visual Studio Code, Notepad++, or even a plain text editor)
- Basic HTML/CSS knowledge (or a template you can modify)
- A GitHub account (free at github.com) – for hosting via GitHub Pages or as a repository for other services
- Optional: A custom domain name (e.g., yourname.com) if you want a personalized URL
- Optional: A static site generator (like Jekyll, Hugo, or Eleventy) for more advanced sites
Step-by-Step Guide
Prepare your website files
Create a folder on your computer named after your project. Inside, add at least anindex.htmlfile with your landing page content. Style it with astyle.cssfile if needed. For a simple documentation site, you might include multiple HTML pages (e.g.,setup.html,faq.html). Use relative links to connect them. Keep it clean and mobile-friendly. Test locally by double-clickingindex.htmlto preview in your browser.Initialize a Git repository and push to GitHub
Open a terminal in your project folder. Rungit initto create a local repository. Add all files withgit add ., then commit withgit commit -m 'Initial commit'. Now go to GitHub, create a new repository (without a README), copy its URL, and link it locally:git remote add origin [your-repo-url]. Push your code:git push -u origin main. This stores your site in the cloud.Deploy with GitHub Pages (easiest)
Navigate to your repository on GitHub. Click Settings > Pages. Under Source, selectDeploy from a branch. Choose themainbranch and the/ (root)folder. Click Save. After a minute, GitHub will give you a URL likehttps://yourusername.github.io/repository-name/. That’s your live site! For a user site (e.g.,yourusername.github.io), name the repository exactlyyourusername.github.io.Alternative: Deploy with Netlify (drag-and-drop)
If you prefer a simpler upload method without Git, use Netlify. Create a free account. On the dashboard, drag and drop your project folder (the one withindex.html) onto the deploy area. Netlify automatically assigns a random subdomain (e.g.,funny-kitten-abc123.netlify.app). Your site goes live instantly. For continuous deployment, connect your GitHub repository instead, so every push updates the site.
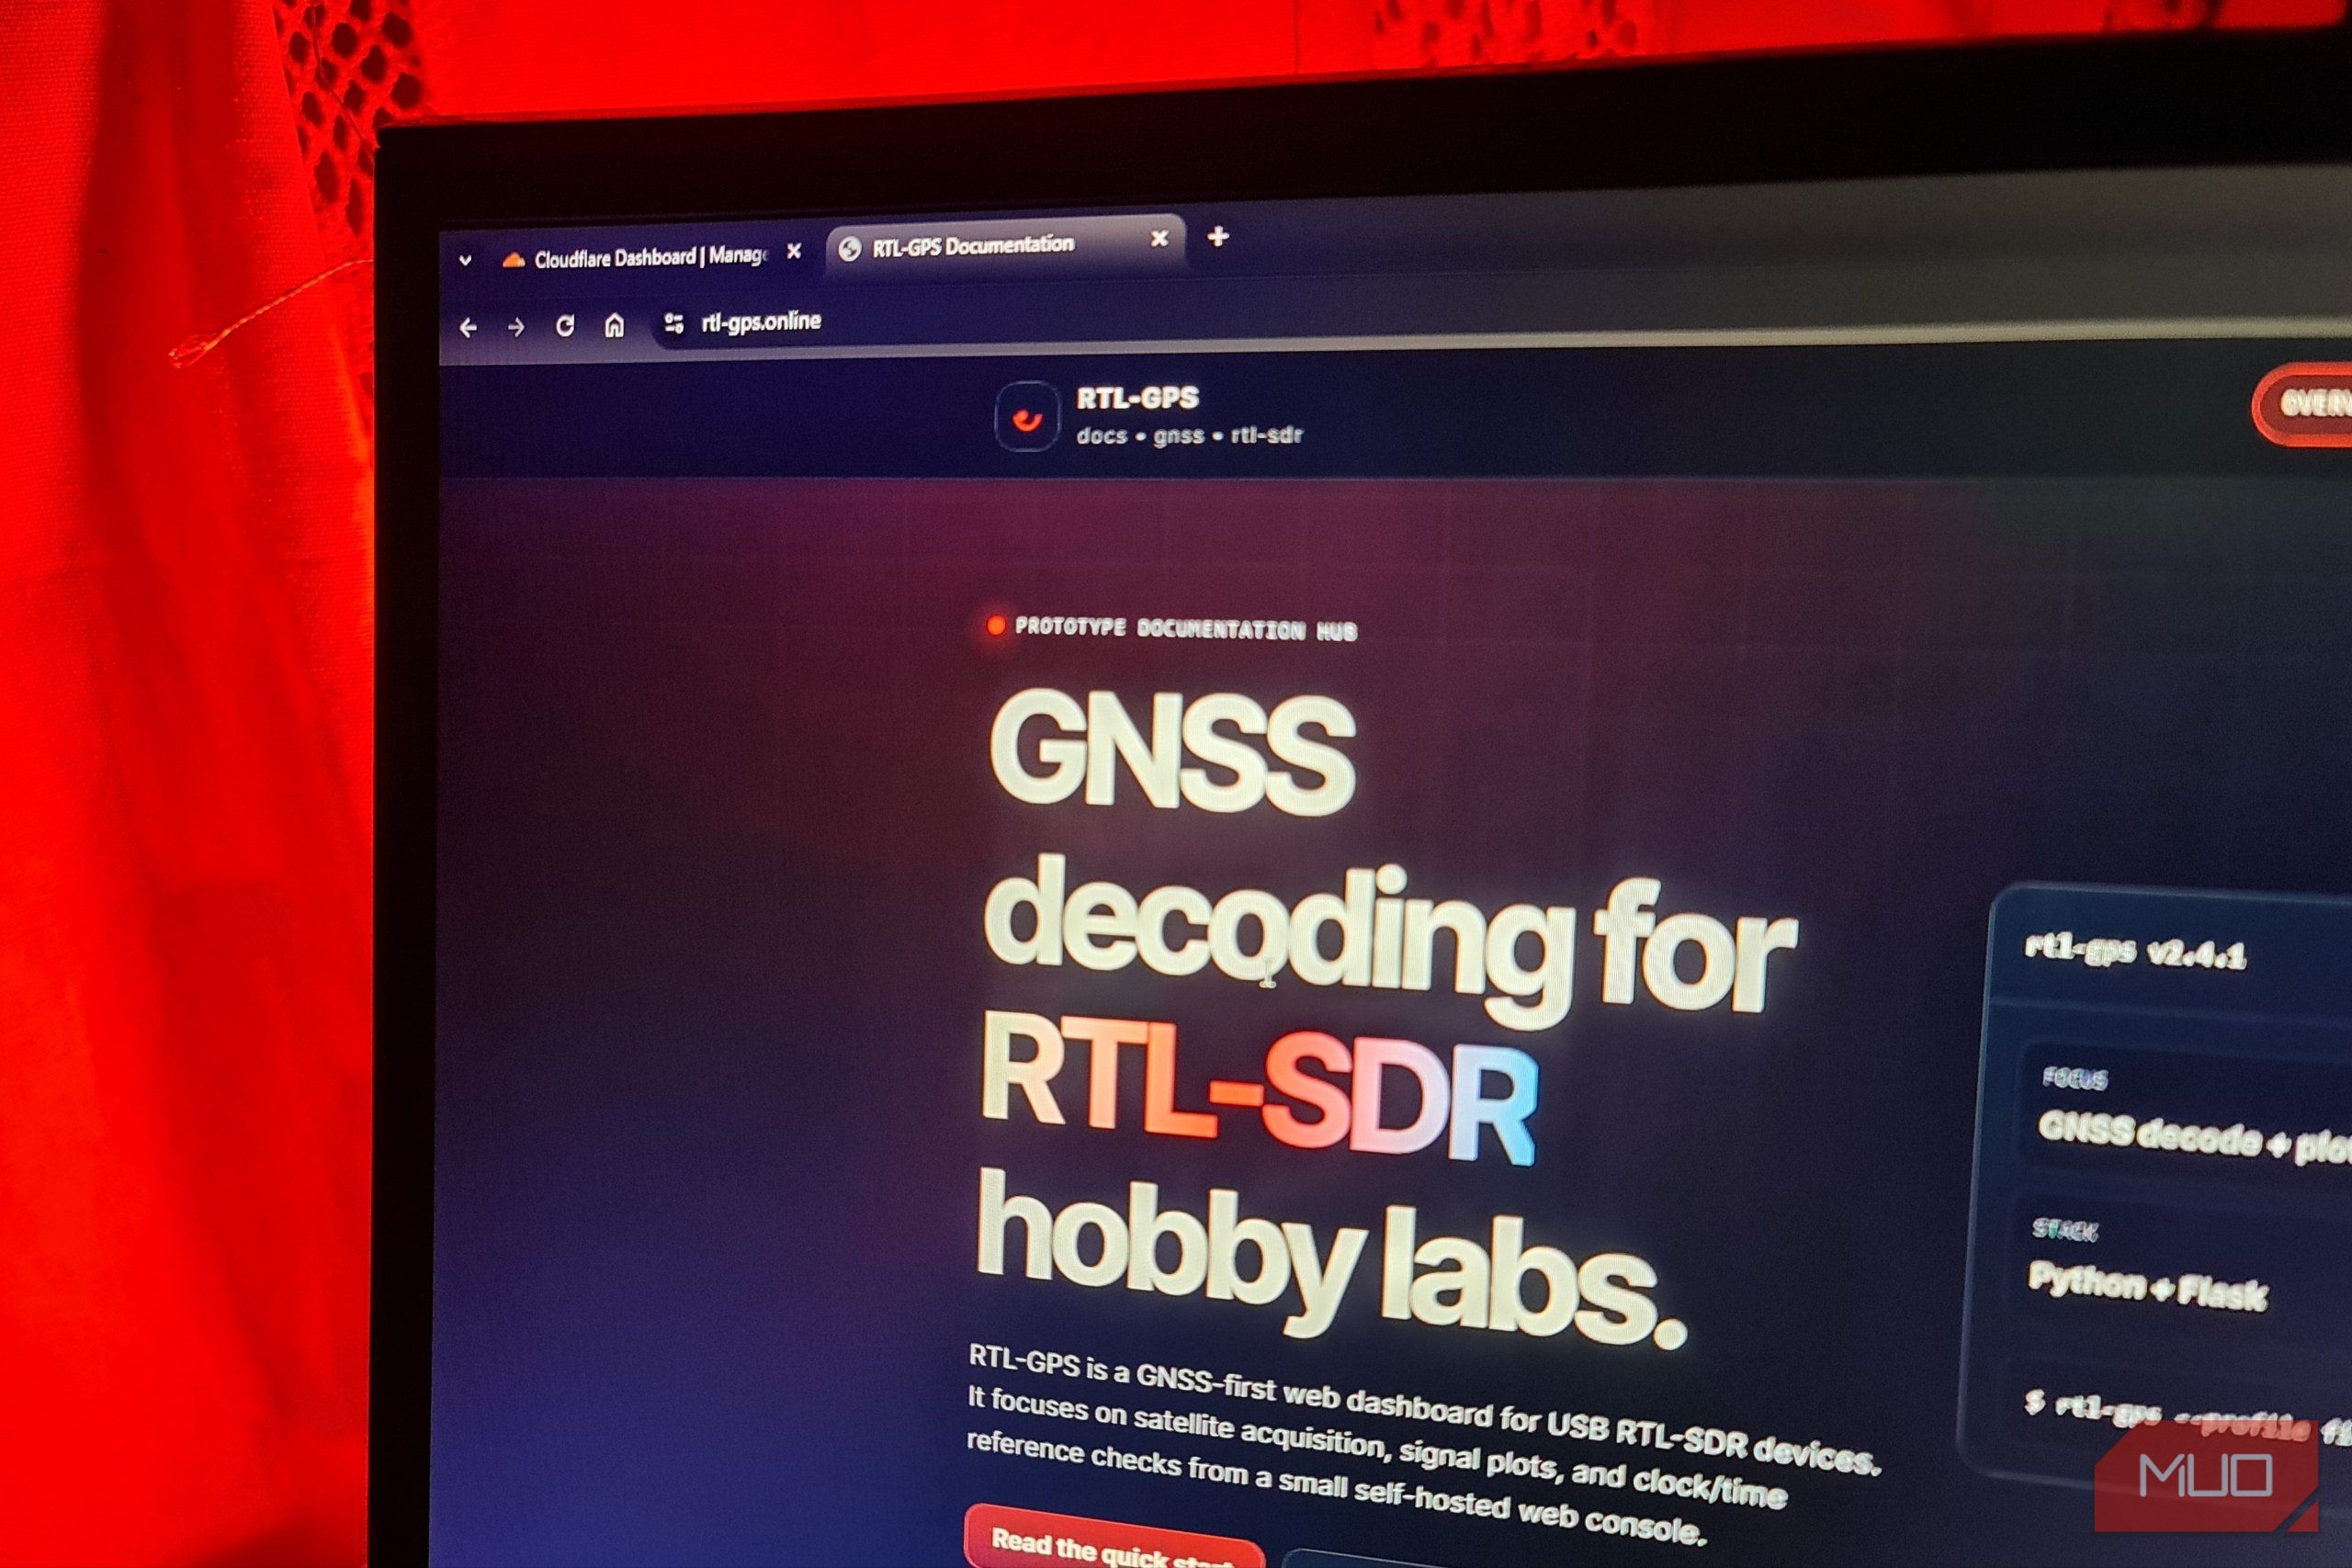
Source: www.makeuseof.com Use a custom domain (optional)
To replace the default URL with your own, buy a domain from a registrar (e.g., Namecheap, Google Domains). Then, in GitHub Pages settings, enter your domain under Custom domain. Add aCNAMEfile in your repository root with the domain name. Finally, configure your domain’s DNS settings with a CNAME record pointing toyourusername.github.io(or the Netlify default URL). Wait for propagation (up to 24 hours). Your site will now be accessible at your custom domain.Update and maintain your site
To make changes, edit your local files, commit, and push to the GitHub repository. The hosting service (GitHub Pages or Netlify) automatically rebuilds and deploys the latest version. For Netlify with drag-and-drop, simply re-drag the folder to update. Keep your content fresh, check for broken links, and consider adding a blog or contact page as your project grows.
Tips for Success
- Start small. A landing page with your project description and links is enough. You can always expand later.
- Use templates. If you’re not confident with web design, download free HTML templates from sites like HTML5 UP or Start Bootstrap and customize them.
- Enable HTTPS. Both GitHub Pages and Netlify provide free SSL certificates automatically. This ensures your site is secure and trustworthy.
- Test on multiple devices. Use your browser’s developer tools to check how your site looks on mobile, tablet, and desktop. Responsive design is key.
- Leverage version control. Even for a simple site, using Git helps you track changes and collaborate if needed.
- Consider a static site generator. For documentation or blogs, tools like Jekyll (integrated with GitHub Pages) can handle templating, navigation, and markdown files, making updates easier.
- Keep it free. Avoid adding server-side scripts (PHP, Python) or databases, as free tiers usually only support static files. If you need dynamic features, explore serverless functions (e.g., Netlify Functions) which also have free allowances.
Hosting a simple website no longer requires monthly fees or technical overhead. With the steps above, you can go from a local HTML file to a public URL in less than an hour. Embrace the freedom of free hosting and focus on what really matters—your content.